Natural Light vs. Flash: Choosing the Right Light for Every Portrait
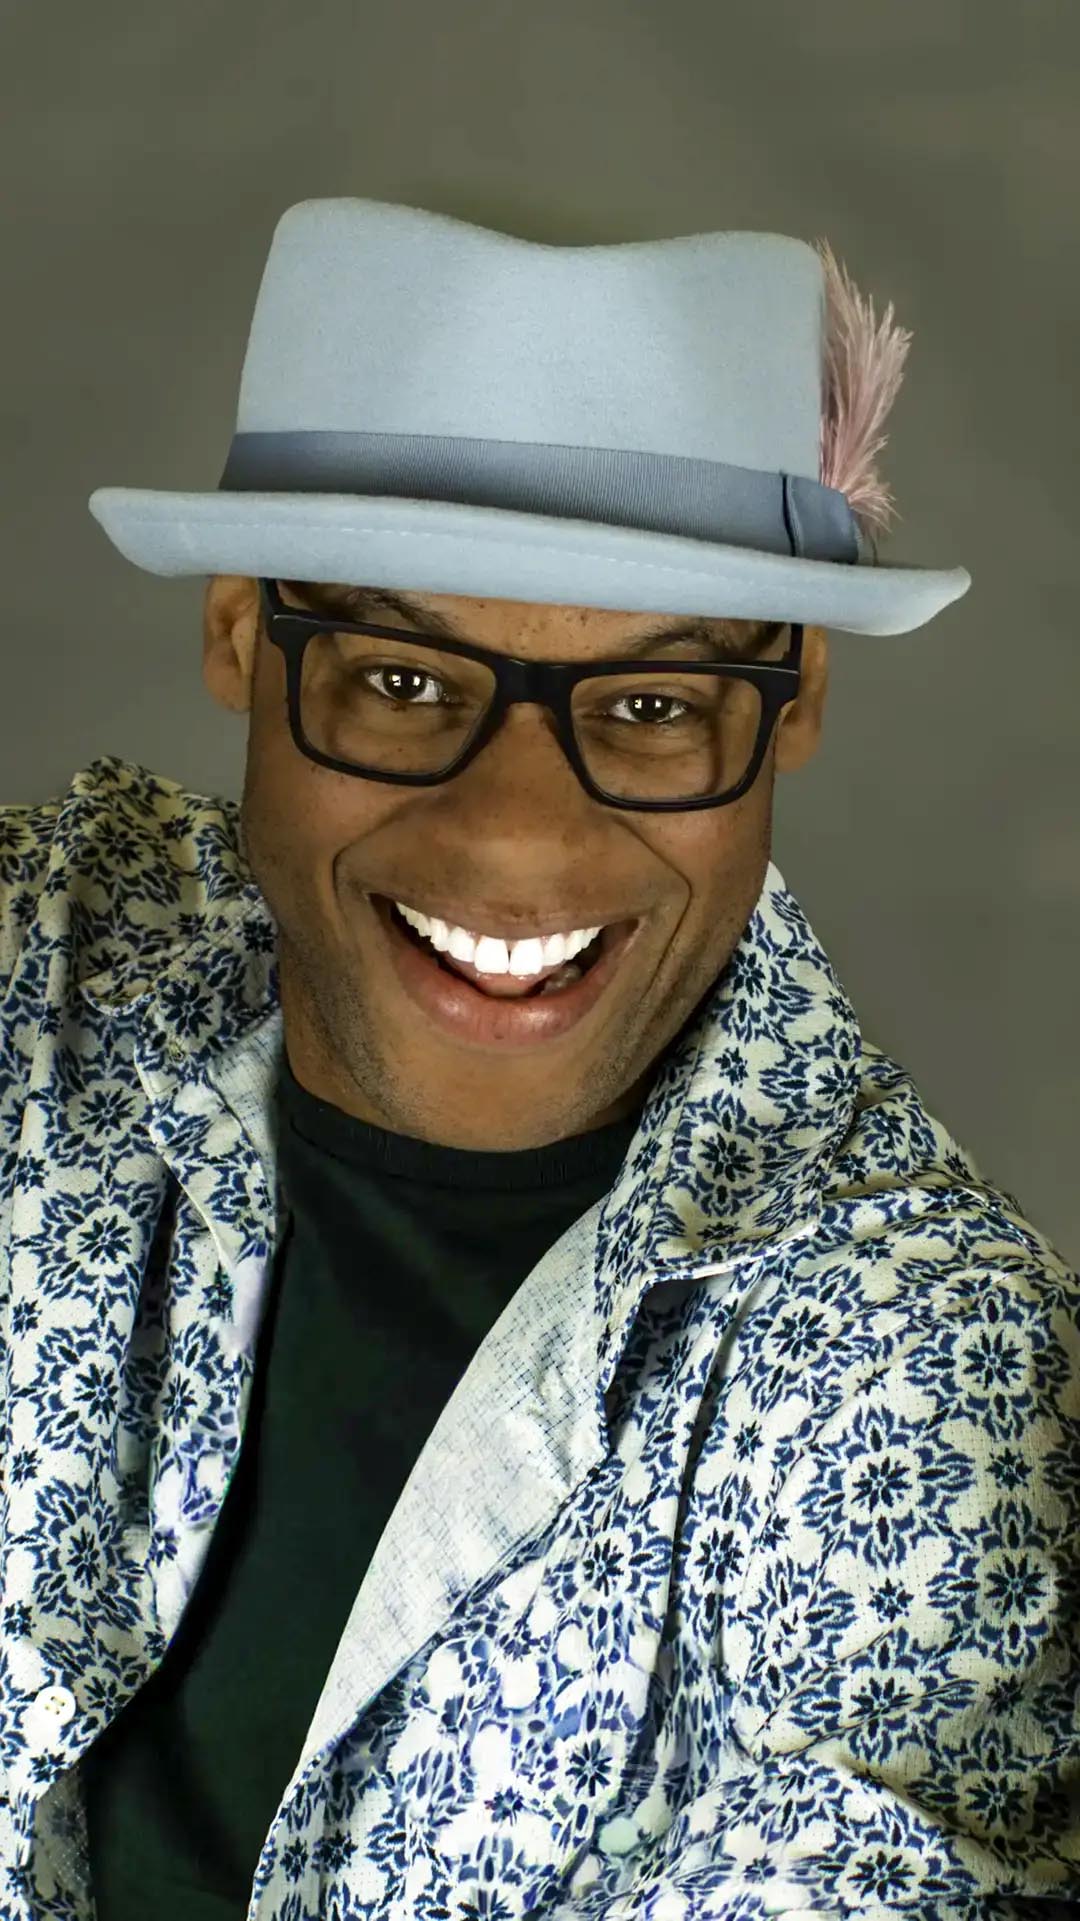
Natural light and flash are often presented as opposing styles. One is described as authentic and effortless; the other as technical and controlled. Portrait photography is more practical than that. Both are tools for shaping attention, atmosphere, and the subject's experience.
Natural light can make a session mobile, quiet, and responsive to the environment. Off-camera flash can hold exposure steady, redirect attention, freeze movement, and create light that does not already exist. Either can look soft, hard, subtle, dramatic, believable, or deliberately stylized.
The useful question is not which source is better. It is which source helps this person, place, and story become clear.
Estimated reading time: 11 minutes
What Is the Difference Between Natural Light and Flash?
Natural light usually means illumination already present in the scene: direct sun, open sky, reflected light, window light, or a combination of them. Photographers observe it, choose a position, modify it with diffusion or reflection, and decide when to photograph. The source may be free, but it is never without constraints. Its direction, intensity, color, and duration depend on weather, architecture, season, and time.
Flash is an added burst of light synchronized with the camera. Power, distance, angle, modifier, and color can be adjusted independently of the sun or room. That gives the photographer substantial control, but not control over everything. Wind still affects stands, sunlight still changes, small rooms still limit placement, and the subject still responds to the process.
The camera also records them differently. Shutter speed, aperture, and ISO affect available light. Within normal synchronization limits, flash exposure is primarily shaped by flash power, distance, aperture, and ISO. That separation lets a photographer darken or preserve the environment and then place a deliberate exposure on the subject.
Natural Light for Portrait Photography
Natural light is most effective when the photographer treats it as a real source rather than simply photographing wherever it happens to be bright. Direction matters. A large window to one side can create volume; open sky can produce gentle frontal light; direct sun can become a hard key, backlight, or pattern.
Advantages of Natural Light
Speed and mobility: The photographer can work without stands, triggers, modifiers, or power settings.
A quiet subject experience: Fewer objects and interruptions can support conversation, movement, and less self-conscious expression.
Environmental continuity: The subject and background share the light already defining the location.
Observational storytelling: Available light can preserve the feeling of a room, street, season, or moment.
Low equipment burden: A camera and careful position may be enough.
Continuous visibility: Everyone can see the direction and approximate contrast before the exposure.
Limitations of Natural Light
Natural light changes. A cloud can alter exposure and color during a sequence. A window may be beautiful for one hour but unusable later. Direct midday sun can create squinting, deep eye shadows, and a narrow choice of camera angles. Dark interiors can require high ISO, wide apertures, or slow shutter speeds that conflict with movement or group depth.
The photographer may also have to move the person to serve the light. That can weaken an environmental portrait if the most meaningful background faces the wrong direction. Reflectors and diffusion help, but they add crew, wind sensitivity, and restrictions of their own.
Best Uses for Natural Light
Use natural light for window portraits, golden-hour sessions, documentary-inspired work, quiet lifestyle images, open-shade headshots, travel portraits, and environmental stories where the existing atmosphere is part of the meaning. It is especially useful when the subject needs freedom to move or when equipment would disrupt an intimate location.
Natural light also suits assignments where variation is welcome. A portrait essay can gain emotional rhythm as sunlight fades or rain changes the street. Consistency matters less than preserving a believable sequence of moments.
Off-Camera Flash for Portrait Photography
Off-camera flash means moving the light away from the camera so its angle can be designed. A speedlight or strobe can act as a subtle fill, a soft window-like source, a hard shaft of light, a rim, or a dominant key. The goal is not automatically to make the portrait look lit. The goal is to give the added source a clear function.
Advantages of Flash
Repeatability: Exposure and direction can remain consistent across people, poses, or a long production.
Ambient control: The photographer can balance, reduce, or sometimes overpower existing light.
Motion control: A short flash duration can freeze movement when ambient exposure is limited.
Flexible direction: Light can come from a position unavailable to the sun or windows.
Modifier choice: Softboxes, umbrellas, reflectors, grids, and bare reflectors can change size, spread, and spill.
Schedule protection: A planned setup can remain usable as daylight shifts.
Creative separation: Flash can guide attention through brightness, color, shadow, and edge light.
Limitations of Flash
Flash adds setup time, weight, batteries, stands, triggers, and safety responsibilities. It can restrict where the subject moves and may interrupt the rhythm of a session. The photographer must understand synchronization, recycle time, flash duration, modifier loss, and the relationship between ambient and flash exposure.
High-speed sync is useful for wide apertures or bright conditions, but it reduces effective output. A large modifier can soften light while consuming power and catching wind. Repeated flashes may fatigue or distract a subject. Flash can also flatten the atmosphere when it is too frontal, too broad, or much brighter than the environment.
Best Uses for Flash
Choose flash for consistent headshots, indoor branding sessions, commercial portraits, groups, action, bright outdoor work, controlled editorial concepts, and locations where the existing light does not support the required background or schedule. For equipment choices, read How to Choose the Right Godox Flash.
Natural Light vs. Flash: Side-by-Side
Decision — Natural light — Off-camera flash
• Setup speed — Fast when the location already works — Requires placement, power, triggering, and safety checks
• Consistency — Changes with weather, time, and position — Repeatable when settings and distances remain fixed
• Creative control — Shaped through timing, position, reflection, and diffusion — Direction, intensity, spread, color, and contrast can be designed
• Subject comfort — Quiet and minimally intrusive — Can feel technical or distracting; good direction reduces friction
• Outdoor portraits — Excellent in shade, backlight, and favorable sun — Strong for fill, bright backgrounds, and deliberate contrast
• Indoor portraits — Strong near useful windows — Reliable when windows are weak, mixed, or unavailable
• Headshots — Natural and efficient for small sets — Consistent across teams, backgrounds, and long sessions
• Branding — Preserves real workplace atmosphere — Protects consistency and gives visual polish across locations
• Families — Supports movement with little equipment — Helps freeze motion and light several faces evenly
• Environmental storytelling — Integrates naturally with place — Can emphasize the person while retaining or reshaping the place
• Motion — Requires sufficient shutter speed and exposure — Short flash duration can freeze flash-lit movement
• Weather dependence — High — Lower, although wind, rain, and ambient brightness still matter
The table describes common tendencies. A dark studio with one skylight may be more stable than a complicated flash setup outdoors. A small speedlight may have less useful influence than bright window light. Judge the actual scene, not the category.
A Decision Framework for Choosing the Light
1. Start With the Story
Decide how the portrait should feel. A restrained, reflective image may benefit from the unevenness of a window. A graphic athletic portrait may need hard flash and a darker sky. A brand story set in a real workspace may require the room to remain believable. Lighting technique follows the emotional premise.
2. Read the Environment
Identify the brightest source, its direction, color, size, and duration. Look for open shade, reflective walls, windows, practical lamps, and backgrounds that will change as the camera moves. Ask whether the existing light helps the chosen composition. If it does, preserve it. If it does not, move, modify, wait, or add flash.
3. Consider Movement and Depth of Field
A walking subject, active family, or windblown garment may require a fast shutter speed. A group may require an aperture that puts several faces in focus. If natural light cannot support those settings at an acceptable ISO, flash provides exposure headroom and possibly shorter effective duration.
4. Protect the Subject Experience
Lighting is part of direction. Some people relax when the set feels minimal; others gain confidence from tethered consistency and a deliberate production. Explain equipment simply, keep stands outside movement paths, avoid unnecessary test flashes, and do not make the subject wait while solving preventable technical problems.
5. Respect the Workflow
Consider schedule, crew, weather, image volume, location permissions, and deliverables. A ten-person headshot day rewards repeatability. A walk through Portland rewards mobility. A branding assignment requiring identical visual language in several rooms may justify flash even when each room has some window light.
6. Use the Least Light That Solves the Frame
Begin with the environment. Add one source only when it performs a necessary function. More equipment does not create more intention. The same principle applies when deciding between One Light, Two Lights, or Three Lights.
Five Real-World Portrait Examples
Golden-Hour Senior Portrait: Natural Light First
Place the senior with the sun behind or to the side, then use open sky or a pale surface to illuminate the face. This preserves warm atmosphere and lets the subject move. Add a small amount of flash only if the face becomes too dim relative to the background or the creative direction needs a crisper edge.
Midday Environmental Portrait: Flash
When the location and schedule require direct midday conditions, expose for the environment and add off-camera flash to shape the face. Keep the modifier close enough for useful softness and power, secure it against wind, and choose an angle consistent with the sun or intentionally contrasting it. If the brief needs a dramatic sky, overpowering the sun with off-camera flash explains the exposure tradeoffs.
Window-Light Artist Portrait: Natural Light
A north-facing or diffused window can create quiet direction and gradual shadow. Turn the artist until the face has enough structure, then decide whether the room should fall dark or remain descriptive. Use a curtain, black fabric, or a white surface to adjust contrast before adding another source.
Indoor Branding Session: Flash With Ambient
An office may include windows, overhead fixtures, screens, and practical lamps. Set the ambient exposure so the room still feels inhabited, then place a soft flash to give the subject consistent facial light. This protects continuity as the team moves through a shot list. Explore the service approach for Portland brand photography.
Outdoor Family Portrait: Natural Light With Optional Fill
Open shade gives children room to move without a stand near the action. Choose a direction that keeps faces bright and backgrounds controlled. If clouds change rapidly or the group needs more sparkle and separation, use a restrained flash placed safely outside the movement area. The technical choice should never become more important than interaction.
Mixing Natural Light and Flash
Many portraits use both. First decide how bright the environment should appear. Set the camera for that ambient exposure, staying within the flash system's useful synchronization range. Then add flash at low power and increase it until it performs its intended function.
Match direction when the flash should feel invisible. If window light comes from camera left, place the flash near that direction rather than creating a second unexplained shadow. Match softness by using a modifier large enough relative to the subject. Match color with gels or deliberate white balance. Control spill so the flash does not brighten every surface equally.
Contrast can also be intentional. Warm sunset behind a subject and cooler flash on the face can create separation. Hard flash against a soft gray sky can feel editorial. The contrast should support the story rather than advertise the equipment.
Fill flash is usually most convincing when it opens shadows without erasing them. Rim or background light has a different function; compare those roles in Rim Light vs. Background Lighting. The character of any added source also depends on whether it is hard light or soft light.
Common Lighting Mistakes
Calling any outdoor light natural and therefore good: Direction and contrast still need to serve the face.
Adding flash before reading the scene: The photographer may erase atmosphere that was already working.
Using flash only from the camera position: Frontal fill can be useful, but it often reduces shape when used without intent.
Making flash too bright: The subject appears detached from the environment and skin highlights become difficult to manage.
Ignoring color differences: Window daylight, shade, flash, LEDs, and practical lamps can pull skin in competing directions.
Forcing a wide aperture in sun: High-speed sync may consume the output needed for distance or a large modifier.
Using a large modifier in wind: A beautiful source becomes a safety hazard without an assistant, weight, and conservative placement.
Letting equipment interrupt direction: Long technical pauses make expression and connection harder.
Assuming overcast light is finished light: Eye sockets, flatness, and background brightness still require decisions.
Treating consistency as the only goal: Controlled exposure should not remove the human texture or environmental variation that gives the portrait meaning.
Flash and continuous sources also solve different production problems. If the session includes video, compare Strobe vs. Continuous Light.
Frequently Asked Questions
Should beginners learn natural light before flash?
Natural light is a useful place to learn direction, contrast, color, and exposure because it requires little equipment. Beginners do not need to master it before trying flash. Learning one off-camera light early can clarify how distance, angle, size, and power change a portrait.
Is flash better than natural light for portraits?
Neither is universally better. Flash adds repeatability, power, and control, while natural light can support a fast, quiet, observational session. The better source is the one that fits the story, environment, subject, schedule, and required consistency.
Can natural light create professional portraits?
Yes. Professional quality depends on intentional direction, exposure, color, composition, expression, and delivery—not the presence of flash. Natural light becomes limiting only when its direction, intensity, color, or consistency cannot support the assignment.
When should I use fill flash outdoors?
Use fill flash when the environment is right but the face needs cleaner exposure, catchlights, color, or separation. Keep it subtle when the portrait should feel observational. Increase its influence when the creative idea calls for a more shaped or dramatic result.
Can I mix natural light and flash?
Yes. Set the ambient exposure for the environment, then add flash for a specific purpose such as facial direction, fill, separation, or motion control. Match or deliberately contrast the source direction, softness, color, and intensity.
Does flash make portraits look artificial?
Flash looks artificial when its placement, intensity, color, or spill conflicts with the visual logic of the scene. It can also look intentionally stylized. A large source placed near an existing window direction can appear natural, while hard direct flash can become an explicit aesthetic choice.
Which light is better for family portraits?
Natural light works well when the location offers open shade, gentle backlight, or a large window. Flash helps freeze movement, light several faces consistently, and protect the schedule when conditions change. Subject comfort and freedom to move should guide the choice.
Is overcast light always flattering?
Overcast skies create a broad source, but they do not automatically create dimensional light. Faces can look flat or acquire dark eye sockets depending on direction. Turn the subject toward open sky, use nearby structures as negative fill, or add restrained flash when needed.
Can flash match window light?
Yes. Place a sufficiently large modifier near the window direction, control spill, and balance the flash color with daylight. The result can extend or recreate window light while providing more consistent exposure as outdoor conditions change.
How do I manage color temperature when mixing light?
Identify the source that should look neutral, set or measure white balance for it, and gel the flash when necessary. Daylight, shade, LEDs, and indoor practical lamps may all differ. A deliberate warm or cool background can work, but accidental mixed color is harder to correct.
When should I leave the flash in the bag?
Leave it unused when the existing light already supports the face, atmosphere, movement, and exposure. Flash should solve a visual or production problem. Adding it without a purpose can slow the session, restrict movement, and erase qualities that made the location meaningful.
Choose Light in Service of the Portrait
Natural light offers mobility, observation, and a direct relationship with place. Flash offers repeatability, added exposure, and the ability to reshape what the environment provides. Neither source guarantees honesty, drama, professionalism, or beauty. Those qualities come from clear decisions and attention to the person in front of the camera.
Look first. Decide what the portrait needs to say. Choose the simplest lighting approach that protects the atmosphere, subject, and assignment.
Explore Portland portrait photography, browse more Photography Education articles, and learn about Shayne Blaylock. To plan a portrait or discuss one-to-one photography mentoring, contact Shayne.