Rim Light vs. Background Light: How to Choose the Right Light for Every Portrait
Many photographers own several flashes but hesitate when deciding what the second light should do. Should it trace the subject’s edge, illuminate the wall, or remain in the case? The answer begins with the photograph—not the equipment. Decide what needs visual separation: the subject, the background, or both.
A secondary light should solve a visible problem. Rim lighting defines the subject’s shape. Background lighting creates interest and hierarchy behind the subject. Using both can produce a layered editorial portrait, but only when each source has a clear responsibility.
Estimated reading time: 10 minutes
Understanding the Purpose of Secondary Light
The second light should never exist simply because another flash is available. Every stand, modifier, cable, battery, and source adds setup time, safety considerations, another catchlight, another possible reflection, and another variable to control. Complexity is justified only when it improves the frame.
Before placing another source, ask two questions:
What needs separation? Is dark hair merging into trees? Is a jacket disappearing against brick? Is a flat wall collapsing into the same tone as the face?
What needs attention? Should the viewer notice the expression, a shoulder line, the architecture, a product, or an area of the environment?
Make a key-light frame first. Evaluate the subject edge, background tone, frame corners, and environmental story. Then give the next light one named job. This keeps portrait lighting intentional and allows each change to be diagnosed independently.
What Is Rim Lighting?
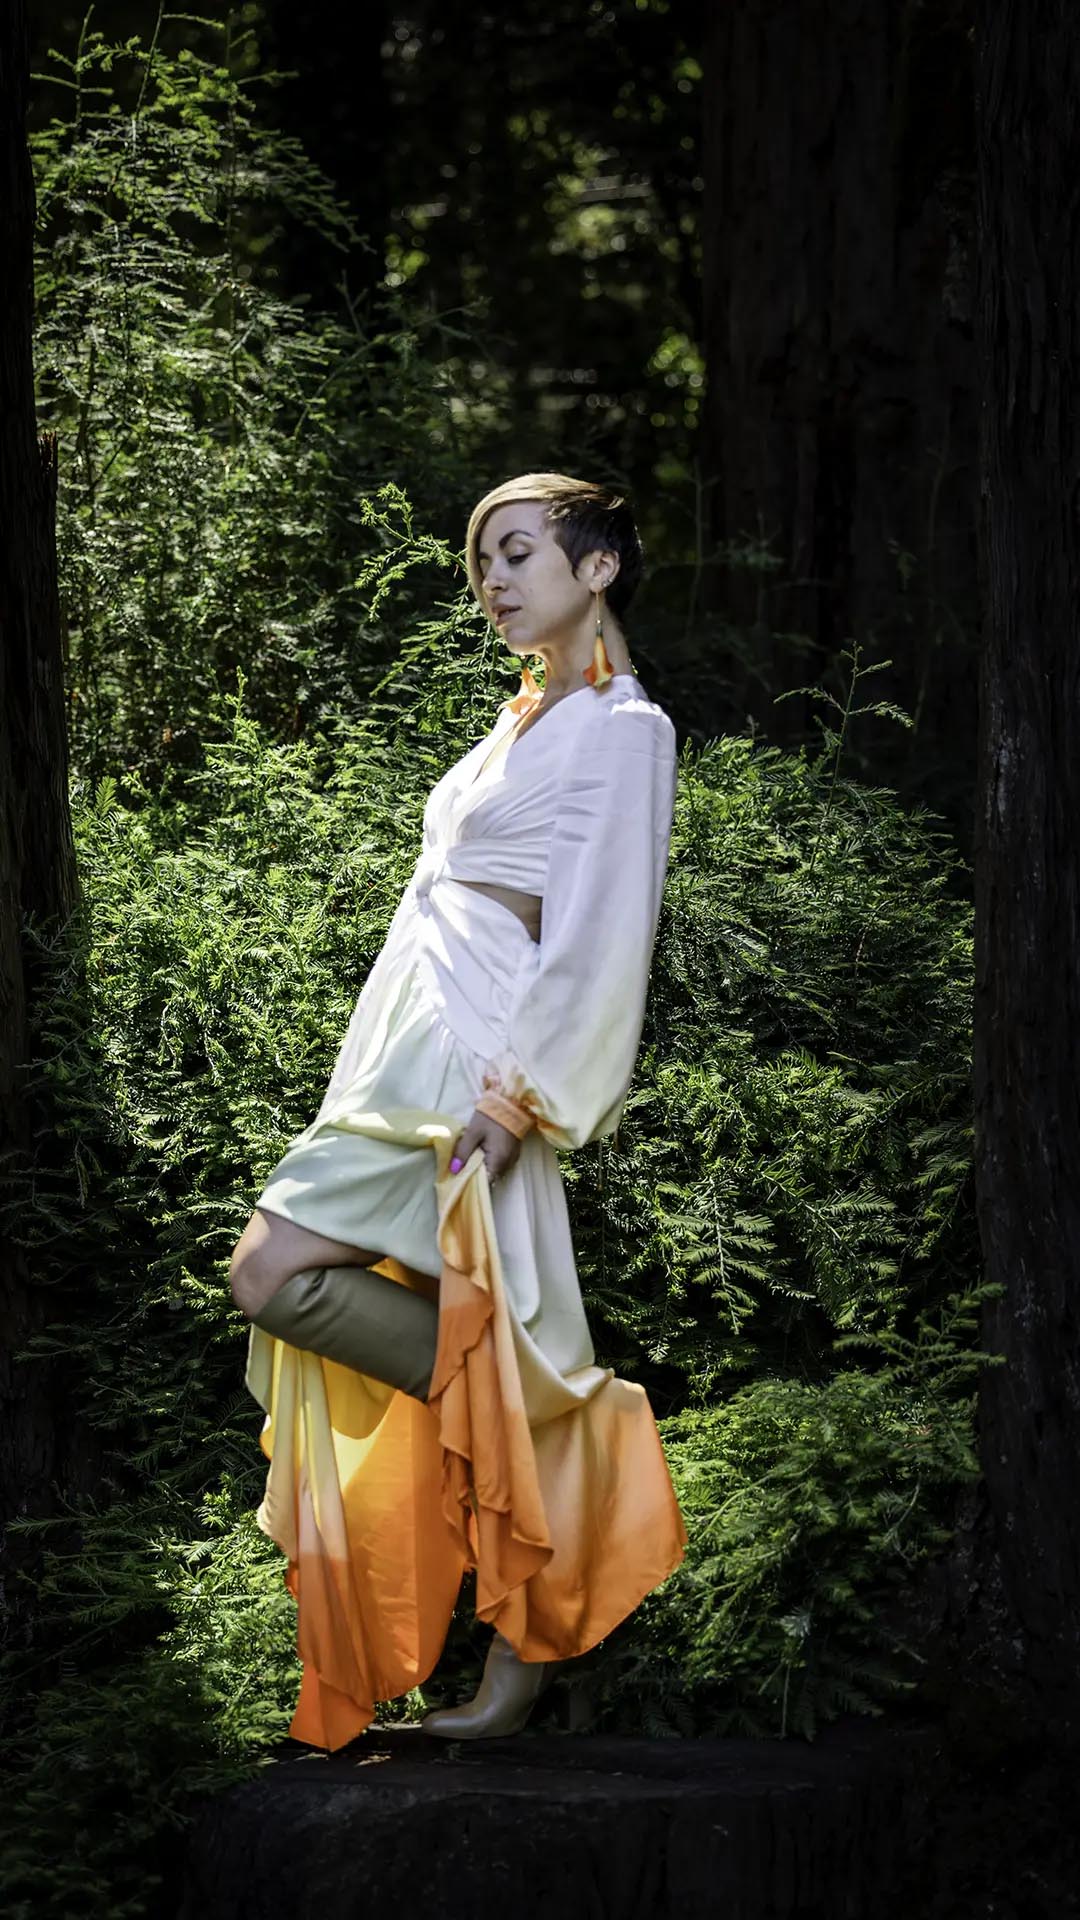
Rim lighting places a source behind and to the side of the subject so it grazes an outer edge. The result may appear along hair, shoulders, clothing, cheek, or profile. It creates subject separation when the edge would otherwise merge with the background.
The edge highlight also describes shape. A dark jacket becomes three-dimensional when a restrained line reveals the shoulder and arm. Hair gains texture and outline. A profile becomes readable against a similar tone. Rim light should define form without replacing the key light as the primary source on the face.
Not every bright edge is useful. A believable rim has a reason within the visual world: sunlight, a window, a streetlight, a practical lamp, or an implied source beyond the frame. Even in a stylized portrait, consistent direction helps the lighting feel integrated rather than attached.
When to Use Rim Lighting
Rim light is most useful when dark clothing or hair blends into a similar background. Trees, forests, brick walls, shadowed streets, and low-key studio surfaces can absorb an edge. At sunset, a controlled rear source can reinforce the direction of the sun or maintain separation after the ambient light falls. Moody and environmental portraits often benefit because the scene can remain dark without losing the person’s outline.
Advantages
Separates similar subject and background tones
Reveals hair, clothing, shoulder, and profile shape
Adds depth without brightening the entire background
Supports motivated sunset, window, stage, or streetlight direction
Preserves a low-key environment while keeping the figure readable
Placement and Modifiers
Begin behind the subject and 30–60 degrees off the camera axis. Raise the source enough to follow the intended edge, then aim it across rather than directly at the camera. Watch the nose, cheek, and far eye: if the rim reaches them unintentionally, move the source farther behind, narrow its beam, or add a flag.
A 7-inch reflector with a honeycomb grid produces an efficient, controlled edge. A gridded strip-style softbox creates a broader and softer transition along more of the body. A beauty dish can work for a polished shoulder or hair edge but needs careful spill control. Bare flash is efficient outdoors, although its wide spill can reduce contrast or illuminate unrelated objects.
Common Rim-Light Mistakes
An overpowered rim becomes a white stripe with no texture. A source placed too far to the side contaminates the face and creates a second key. Poor flagging causes flare, lowers shadow contrast, or reveals itself in glasses and reflective surfaces. Equal highlights on both sides can outline the person like a cutout. Start dimmer than expected and increase only until the necessary edge becomes readable.
What Is Background Lighting?
Background lighting aims a source at the wall, backdrop, door, or environmental surface rather than primarily at the subject. It can produce a gradient, reveal texture, create a tonal area behind the head, or guide attention toward one part of the frame.
A controlled pool of light makes a plain surface more interesting without adding physical objects. It also creates depth by separating the background’s brightness or color from the face and wardrobe. The gradient can be centered, offset, feathered, colored, narrow, or broad according to the composition.
Grids are especially useful because they reduce beam spread. A grid can keep the light off the subject, floor, lens, and frame edge while concentrating it on the chosen background area. Move the source closer for a tighter falloff relationship or farther away for more even coverage, then adjust angle and beam control before power.
When to Use Background Lighting
Background lighting works well with plain walls, studio backdrops, garage doors, concrete surfaces, warehouses, and flat architecture. These locations may have useful texture but insufficient tonal variation. A gradient can create a visual center without changing the subject’s facial lighting.
Advantages
Converts a flat surface into a controlled tonal shape
Directs the eye toward or away from a selected area
Reveals texture without adding clutter
Separates the subject through background tone or color
Allows the key light to remain optimized for the face
Recommended Modifiers
A gridded 7-inch reflector creates a compact, efficient hotspot. Add diffusion when the transition needs to be less abrupt. A small softbox produces a wider, gentler gradient, while a beauty dish can create a defined but broader pool. Feather the source across the wall when the brightest center would otherwise sit directly behind the head.
Common Background-Light Mistakes
A centered hotspot can look like a glowing halo rather than part of the environment. Spill may brighten the subject’s back, floor, ceiling, or lens. Excessive power competes with the face. Uneven color on a neutral corporate backdrop can complicate brand consistency. Judge the effect from the final camera position and make a reference frame with the background source off.
Using Rim and Background Lighting Together
An editorial setup may combine a key light + rim light + background gradient. The key shapes the face and establishes the emotional center. The rim separates a chosen edge. The background light creates a tonal or color structure behind the person. Each source controls a different plane.
Build the setup in that order. Establish the ambient exposure and composition, add the key, then decide whether the subject edge or background needs attention first. Activate one secondary source at a time. If both lights are changed together, it becomes difficult to know which correction improved or weakened the image.
Power ratios should be judged as recorded brightness, not matching numbers on flash displays. A rim source may be physically closer, use a hard reflector, and strike dark fabric at a grazing angle. A background source may be farther away and reflect from a dark wall. Those conditions make equal power settings produce unequal results.
A Simple Lighting Decision Framework
Is the background already visually interesting? Yes: consider rim light and leave the environment alone. No: consider background light.
Does the subject blend into the background? Yes: add or refine rim light. No: continue without it.
Does the background feel flat? Yes: add a controlled background gradient. No: keep the existing environment.
Does the image still lack depth? Use both only if the rim and background source solve distinct remaining problems.
This framework is diagnostic, not absolute. A visually interesting forest may still need a subtle background source to reveal mist. A plain wall may need no added light if a natural shadow already creates structure. Observe the actual frame.
Real Shooting Examples
Forest Portrait: Key + Rim
A forest already contains depth, texture, and repeating vertical lines. Lighting the entire background may flatten that natural structure. Use a soft key for the face and a restrained gridded rim behind the subject to separate dark hair or clothing from tree shadows. Preserve ambient gaps and atmospheric distance.
Concrete Wall: Key + Background Gradient
A concrete wall may have useful texture but uniform brightness. Place the key according to the expression, then aim a gridded reflector at an off-center portion of the wall. The gradient organizes the empty surface and creates separation without adding a conspicuous edge highlight.
Sunset Portrait: Key + Rim
Expose for the sky and ambient color, then use the key to return readable facial detail. The sun may already provide natural rim light; if it falls below the horizon or sits at the wrong angle, a controlled rear flash can continue that direction. Match the environment rather than creating an unrelated white outline.
Dark Alley: Key + Rim + Background Gradient
Use a key to shape the face, a narrow rim to separate a shoulder or hair edge, and a background source to reveal distant brick, haze, or a doorway. Keep the background light away from the subject so the three planes remain distinct. This is a strong case for a higher-output unit such as a Godox AD600 when distance, modifier loss, or ambient control requires additional headroom.
Corporate Headshot: Key + Background Gradient
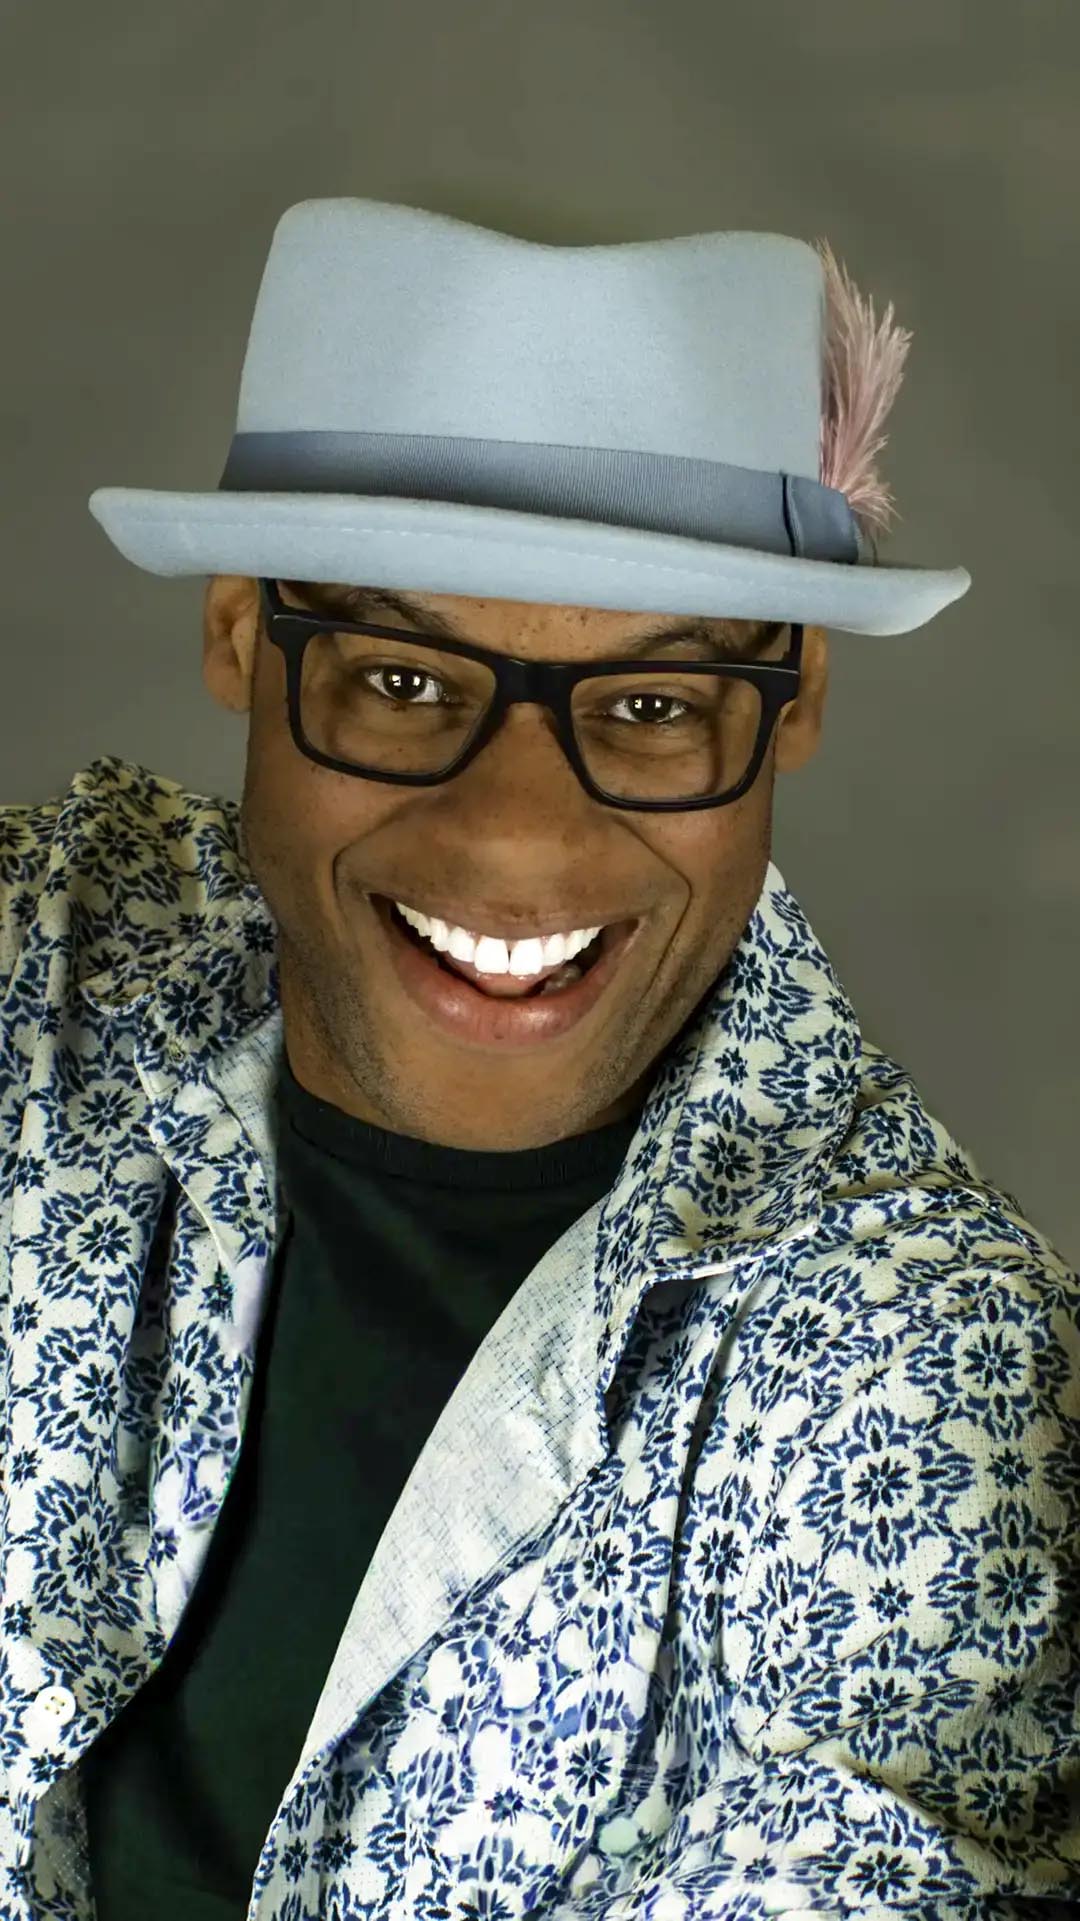
A professional headshot often needs consistency and clean separation more than theatrical edge light. Use a controlled key and fill or negative fill for the face, then create a restrained neutral gradient on the backdrop. Protect wardrobe edges through tone and spacing before adding rim light.
Lighting Diagram Plan
Create three responsive overhead diagrams using the CMS image fields supplied with this article:
Key + Rim: show camera, subject, key, rear gridded source, beam direction, and background.
Key + Background: show camera, subject, key, background source, grid, gradient area, and backdrop.
Key + Rim + Background: show all three sources, camera axis, flags, subject position, and independent beam paths.
Use simple labels, high-contrast lines, non-color-only distinctions, and descriptive captions. The diagrams should explain spatial relationships at mobile size without requiring hover interaction.
Modifier Recommendations
Parabolic Softbox
Use a parabolic-style softbox as a key when broad, controlled facial light is needed. Add a grid to reduce spill onto the background. Its size, depth, diffusion, distance, and placement matter more than the marketing label.
Beauty Dish
A beauty dish provides a more defined key or edge than a large diffused softbox. It suits polished editorial portraits and can reveal facial or wardrobe texture. Add diffusion or a grid when highlights or spill become too aggressive.
7-Inch Reflector and Honeycomb Grids
A standard reflector is efficient for rim and background sources. Honeycomb grids narrow the beam and help keep light off the face, lens, and surrounding surfaces. Grids control spread; they do not automatically make the light soft.
Diffusion and Feathering
Diffusion enlarges or smooths the apparent source when positioned and sized appropriately, but it also costs output. Feathering uses the edge of a beam to create more gradual coverage or keep the brightest center away from the subject. Both are useful when a hard hotspot or rim transition feels mechanical.
Starting Power Ratios
A practical test may begin with:
Key: 1/8 power
Rim: 1/32 power
Background: 1/64 power
These are starting points, not rules. Flash power fractions cannot be compared reliably across different models, distances, zoom settings, modifiers, diffusion layers, or surfaces. A Godox AD600 at 1/32 is not equivalent to every other light at 1/32, and reflected background exposure behaves differently from direct light on the face.
Set the ambient frame first. Build the key to the required aperture and ISO. Add the rim until the edge is readable without clipping, then add the background source until its gradient supports the composition. Balance the visible effects rather than matching display numbers. A meter can establish repeatability, but the photograph remains the final evidence.
Common Secondary-Lighting Mistakes
Rim too bright: The edge clips, loses texture, and competes with expression.
Background hotspot behind the head: The effect becomes a formulaic halo.
Light spill: Uncontrolled beams brighten the face, floor, ceiling, lens, or unrelated objects.
Competing highlights: Rim, practicals, and background pools demand attention simultaneously.
Over-lighting: Equal brightness across every plane removes depth and atmosphere.
Adding unnecessary lights: Equipment becomes the reason for the setup instead of the story.
Ignoring composition: Lighting cannot rescue tangents, weak lines, clutter, or a poorly chosen camera position.
The fastest diagnostic is subtraction. Switch off the newest light. If the portrait becomes clearer, that source did not have a necessary job or was not controlled well enough.
Frequently Asked Questions
Should every portrait have a rim light?
No. A rim light is useful when an edge needs separation or dimensional definition. If the subject is already distinct through tone, color, focus, or distance, another highlight may only add visual noise.
When should I light the background?
Light the background when it feels flat, lacks a useful tonal area behind the subject, or needs a controlled gradient to direct attention. Do not light it merely because a flash is available.
Can one flash create both rim and background light?
Sometimes. A carefully placed source can skim the subject and continue onto the background, but the two effects cannot be adjusted independently. Flags and grids help control where the light travels.
How bright should rim lighting be?
Bright enough to define the required edge, but usually not so bright that it clips texture or becomes the first thing the viewer notices. Judge the photograph and histogram rather than copying a power number.
Should rim light be behind or beside the subject?
It is normally behind and offset to one side so the beam grazes hair, shoulder, clothing, or profile. Moving it farther to the side broadens the edge and increases the risk of light reaching the face.
How do grids improve lighting control?
A honeycomb grid narrows beam spread. It can keep a background light off the subject and lens, or restrict a rim source to one edge. A grid changes spread, not the fundamental softness of the source.
Can I combine rim and background lights?
Yes, when each solves a separate problem. Use a rim source for subject separation and a background source for environmental interest, then keep both subordinate to the key and expression.
What modifier is best for a background gradient?
A gridded reflector is an efficient starting point for a compact hotspot and controlled falloff. A bare head or small softbox creates a broader effect; placement and surface reflectance determine the final shape.
Do I need a powerful flash such as a Godox AD600?
Not always. Power needs depend on aperture, ISO, modifier efficiency, distance, ambient level, and required recycle time. A Godox AD600 can provide outdoor headroom, while a lower-powered unit may be sufficient indoors or near the subject.
Where should a background light be aimed?
Aim according to the gradient you want, then inspect the actual frame. A light centered behind the head creates a halo; an off-center or feathered pool often feels more dimensional and less formulaic.
How do I prevent lens flare from a rim light?
Keep the source outside the lens angle, use a grid or flag, extend the lens hood, and make a test frame with the rim source off. Flare may reduce contrast before it becomes visibly obvious.
Solve the Visual Problem First
Light the subject when the subject needs separation. Light the background when the background needs interest. Use both only when each contributes to the story.
Begin every portrait by identifying the visual problem before placing additional lights. A restrained setup with clear source logic will usually feel more dimensional and believable than a complex setup built from habit.
Continue with the complete guide to cinematic portrait lighting, or see how controlled lighting supports Portland portrait photography, personal branding photography, and professional headshots. Browse more photography education in the Journal, learn about Shayne Blaylock, or contact Shayne to book a portrait session or ask about one-to-one photography mentoring.