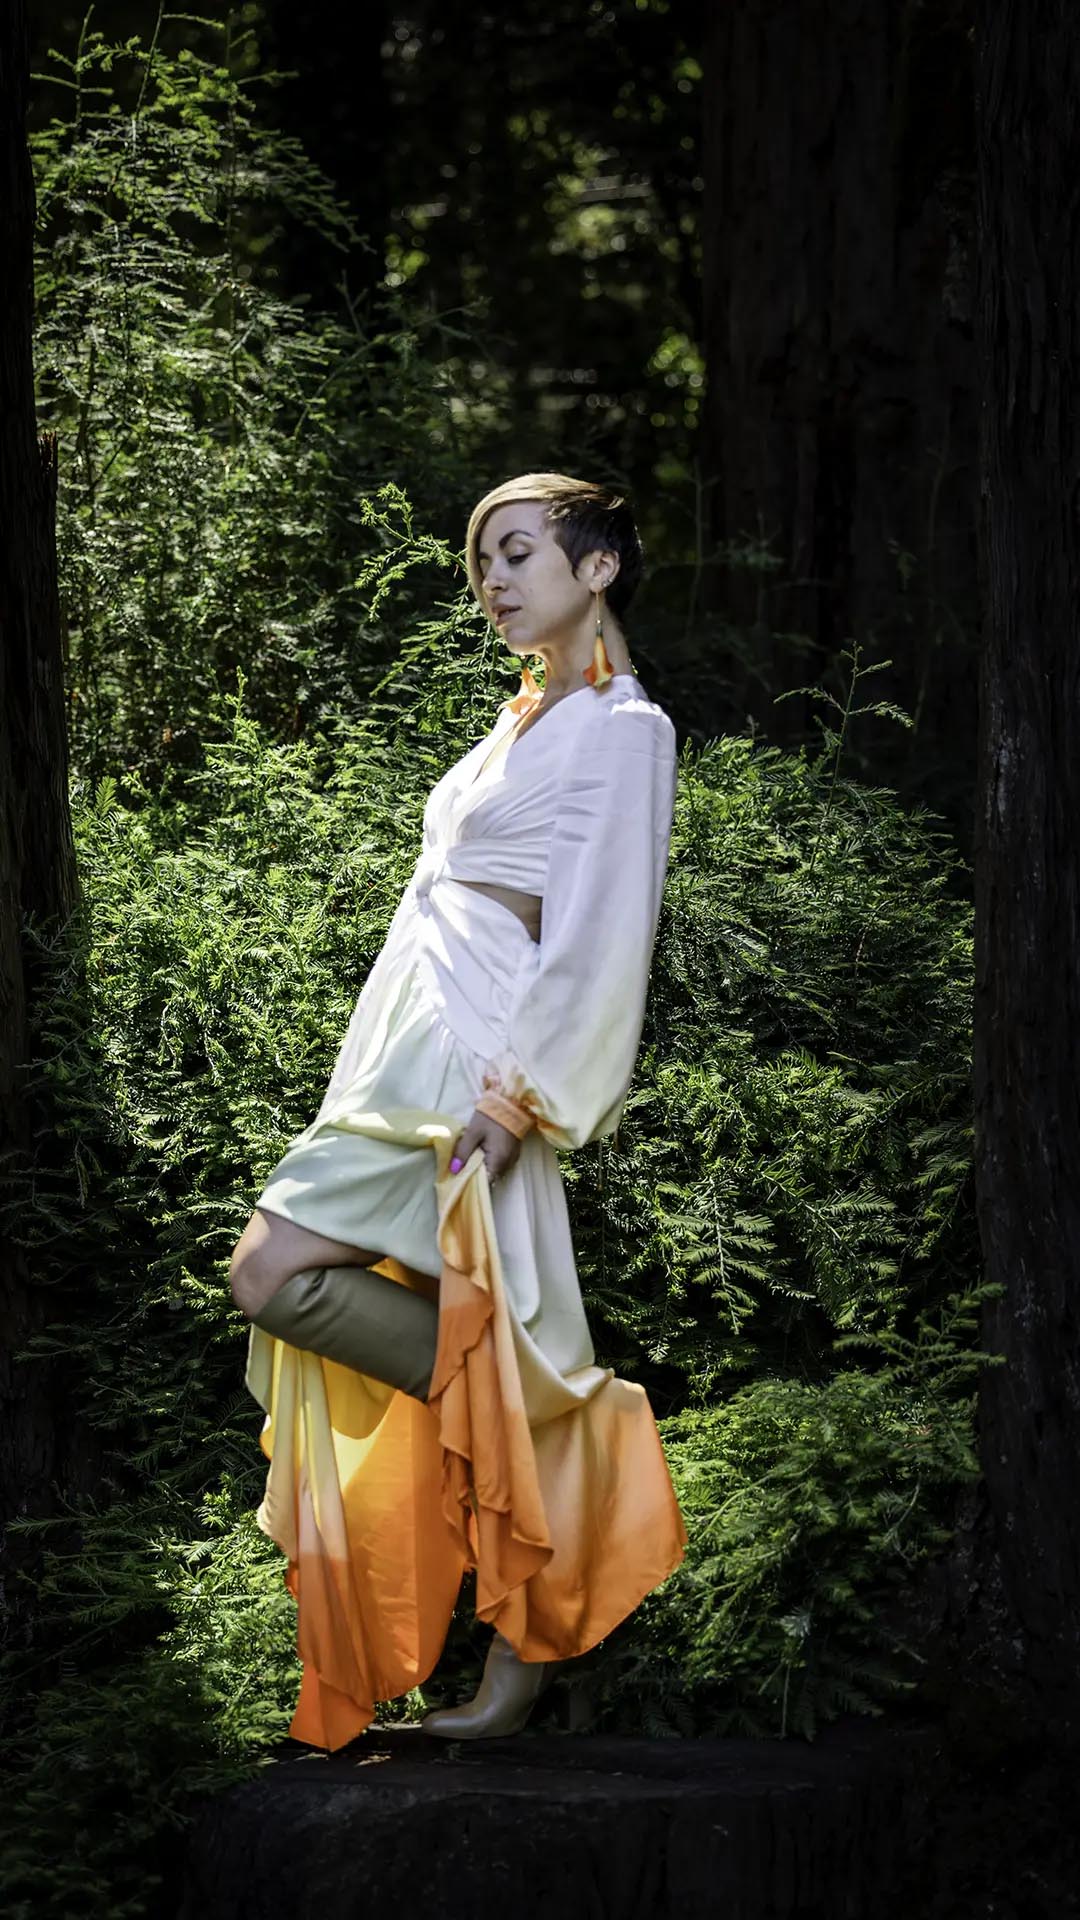
One Light vs. Two Lights vs. Three Lights
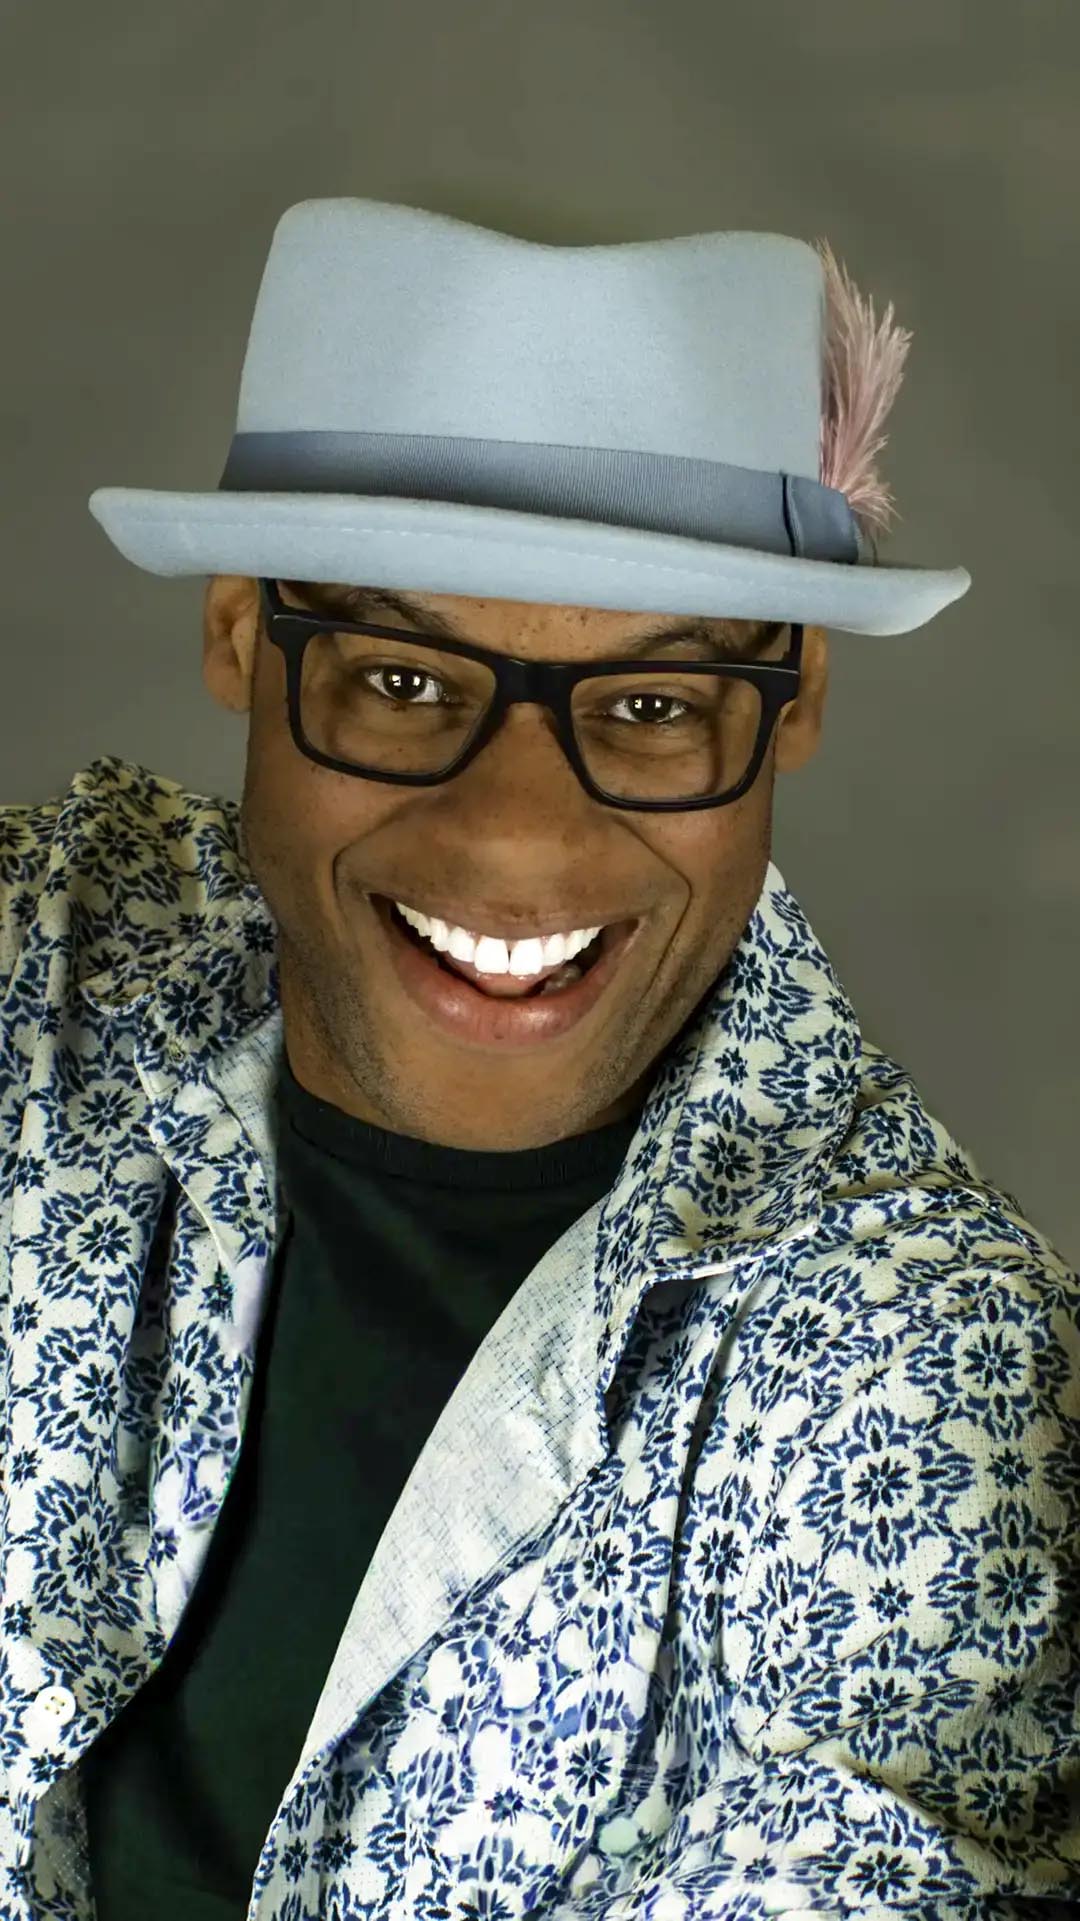
Strong portrait decisions begin before equipment is arranged. One Light vs. Two Lights vs. Three Lights is not a search for one universal formula. It is a framework for learning how to decide when one light is complete and when fill, rim, or background light adds necessary information.
Estimated reading time: 13 minutes
Begin With the Portrait’s Job
Next, describe what should remain visually quiet. This prevents every available element from competing for importance. Decide what the viewer should notice first, second, and third. That hierarchy becomes the test for every choice about portrait lighting setups.
The Essential Decisions
One Light as a Complete Idea
One carefully placed source can establish direction, facial shape, catchlight, contrast, and mood. Simplicity makes cause and effect visible and keeps attention on expression.
For One Light vs. Two Lights vs. Three Lights, the planning test is concrete: setup choices, exposure, visual evidence, common errors, and repeatable tests. This turns a broad recommendation into a decision that can be checked before production and evaluated in the delivered photographs.
FSTOP's cinematic realism supports One Light vs. Two Lights vs. Three Lights by keeping attention on human presence while the method stays useful. In practice, setup choices, exposure, visual evidence, common errors, and repeatable tests. Atmosphere earns its place only when it clarifies the person, product, or professional purpose.
Adding Fill
Fill is justified when shadow detail matters to the story or deliverable. Its direction, size, and level should preserve the key light’s shape instead of flattening it.
For One Light vs. Two Lights vs. Three Lights, the planning test is concrete: setup choices, exposure, visual evidence, common errors, and repeatable tests. This turns a broad recommendation into a decision that can be checked before production and evaluated in the delivered photographs.
Portland weather affects One Light vs. Two Lights vs. Three Lights through more than rain. The working plan should setup choices, exposure, visual evidence, common errors, and repeatable tests. Confirm current daylight, access, ground conditions, and the decision-maker for any timing or location change before the session.
Adding Rim Light
Rim light separates similar tones and can create atmosphere, but it must follow believable placement and avoid distracting highlights on ears, shoulders, or hair.
For One Light vs. Two Lights vs. Three Lights, the planning test is concrete: setup choices, exposure, visual evidence, common errors, and repeatable tests. This turns a broad recommendation into a decision that can be checked before production and evaluated in the delivered photographs.
FSTOP's cinematic realism supports One Light vs. Two Lights vs. Three Lights by keeping attention on human presence while the method stays useful. In practice, setup choices, exposure, visual evidence, common errors, and repeatable tests. Atmosphere earns its place only when it clarifies the person, product, or professional purpose.
Adding Background Light
A background light changes the setting rather than outlining the person. Use it to create a gradient, reveal texture, or control tonal separation.
For One Light vs. Two Lights vs. Three Lights, the planning test is concrete: setup choices, exposure, visual evidence, common errors, and repeatable tests. This turns a broad recommendation into a decision that can be checked before production and evaluated in the delivered photographs.
Portland weather affects One Light vs. Two Lights vs. Three Lights through more than rain. The working plan should setup choices, exposure, visual evidence, common errors, and repeatable tests. Confirm current daylight, access, ground conditions, and the decision-maker for any timing or location change before the session.
Complexity Has a Cost
Every source introduces stands, power, metering, spill, reflections, failure points, and additional decisions for a moving subject.
For One Light vs. Two Lights vs. Three Lights, the planning test is concrete: setup choices, exposure, visual evidence, common errors, and repeatable tests. This turns a broad recommendation into a decision that can be checked before production and evaluated in the delivered photographs.
FSTOP's cinematic realism supports One Light vs. Two Lights vs. Three Lights by keeping attention on human presence while the method stays useful. In practice, setup choices, exposure, visual evidence, common errors, and repeatable tests. Atmosphere earns its place only when it clarifies the person, product, or professional purpose.
Lighting by Function
Name each source by its job. If a light has no distinct job visible in the frame, remove it and reassess the portrait.
For One Light vs. Two Lights vs. Three Lights, the planning test is concrete: setup choices, exposure, visual evidence, common errors, and repeatable tests. This turns a broad recommendation into a decision that can be checked before production and evaluated in the delivered photographs.
Portland weather affects One Light vs. Two Lights vs. Three Lights through more than rain. The working plan should setup choices, exposure, visual evidence, common errors, and repeatable tests. Confirm current daylight, access, ground conditions, and the decision-maker for any timing or location change before the session.
A Repeatable Decision Workflow
Choose One Priority
Select the single relationship that most affects the portrait. It may be one light as a complete idea, adding fill, or adding rim light. State the intended change in plain language. “Make the face separate more clearly without losing the room” is more useful than “make it professional.”
Real-World Portrait Examples
A one-light corporate headshot
Start by stating what the photograph must communicate and what the viewer needs to understand. Establish camera position and background before refining equipment. Then make one frame that uses the simplest workable interpretation of portrait lighting setups.
For the second frame, change the relevant relationship deliberately: one light as a complete idea. Compare expression, hierarchy, depth, and environmental clarity. Keep the version that makes the person more present and the story more specific, even when the rejected version appears more technically dramatic.
A two-light beauty portrait with restrained fill
Start by stating what the photograph must communicate and what the viewer needs to understand. Establish camera position and background before refining equipment. Then make one frame that uses the simplest workable interpretation of portrait lighting setups.
For the second frame, change the relevant relationship deliberately: adding fill. Compare expression, hierarchy, depth, and environmental clarity. Keep the version that makes the person more present and the story more specific, even when the rejected version appears more technically dramatic.
An athlete with key and rim light
Start by stating what the photograph must communicate and what the viewer needs to understand. Establish camera position and background before refining equipment. Then make one frame that uses the simplest workable interpretation of portrait lighting setups.
For the second frame, change the relevant relationship deliberately: adding rim light. Compare expression, hierarchy, depth, and environmental clarity. Keep the version that makes the person more present and the story more specific, even when the rejected version appears more technically dramatic.
A three-light branding portrait with a controlled background
Start by stating what the photograph must communicate and what the viewer needs to understand. Establish camera position and background before refining equipment. Then make one frame that uses the simplest workable interpretation of portrait lighting setups.
For the second frame, change the relevant relationship deliberately: adding background light. Compare expression, hierarchy, depth, and environmental clarity. Keep the version that makes the person more present and the story more specific, even when the rejected version appears more technically dramatic.
How This Decision Connects to the Education Library
No portrait decision exists alone. rim-light-vs-background-lighting-portraits expands the first relationship, while how-to-choose-the-right-godox-flash explains a closely connected technical choice. Continue with octagon-softbox-vs-beauty-dish-vs-umbrella for narrative context and How to Feather a Softbox for Better Portraits for a practical companion workflow.
These links are not a checklist that every portrait must use. Follow the branch that solves the current problem. The library is designed to help photographers move from intention to observation, then to the smallest effective technical response.
Common Mistakes
Adding lights before solving the key: This usually happens when a familiar technique replaces observation. Return to the baseline, name the actual problem, and make one measurable adjustment.
Using fill that erases facial shape: This usually happens when a familiar technique replaces observation. Return to the baseline, name the actual problem, and make one measurable adjustment.
Creating two competing key lights: This usually happens when a familiar technique replaces observation. Return to the baseline, name the actual problem, and make one measurable adjustment.
Placing rim light where it flares into the lens: This usually happens when a familiar technique replaces observation. Return to the baseline, name the actual problem, and make one measurable adjustment.
Lighting the background without considering subject distance: This usually happens when a familiar technique replaces observation. Return to the baseline, name the actual problem, and make one measurable adjustment.
Changing several sources after every test: This usually happens when a familiar technique replaces observation. Return to the baseline, name the actual problem, and make one measurable adjustment.
Other mistakes include changing the setup faster than the subject can adapt, judging only the camera display, ignoring safety or accessibility, and keeping a visually impressive frame that fails its intended use. A consistent process makes those errors visible before delivery.
Practice Exercise
Choose one cooperative subject and one location. Make a neutral baseline, then create three intentional variations using one light as a complete idea, adding fill, adding rim light. Keep camera settings and expression as consistent as practical.
Repeat the exercise in a different environment. The goal is not to reproduce the first result; it is to recognize how the same principle behaves when subject, background, available light, and working distance change.
Frequently Asked Questions
What should photographers decide first about portrait lighting setups?
Begin with the portrait’s purpose, audience, emotional direction, and required use. Then evaluate one light as a complete idea and adding fill in that context. A technical choice is useful only when it strengthens those priorities.
How does one light as a complete idea affect the final portrait?
One carefully placed source can establish direction, facial shape, catchlight, contrast, and mood. Simplicity makes cause and effect visible and keeps attention on expression. Make a controlled comparison while holding camera position, expression, and exposure as steady as possible. The difference should be judged by meaning and visual hierarchy, not novelty.
Why is adding fill important?
Fill is justified when shadow detail matters to the story or deliverable. Its direction, size, and level should preserve the key light’s shape instead of flattening it. Ask what the viewer notices first, what remains understandable at thumbnail size, and whether the choice still supports the person rather than drawing attention to technique.
How should beginners practice portrait lighting setups?
Use one person, one location, and one variable at a time. Photograph a baseline, change only adding rim light, record the reason, and compare results later. Repetition builds judgment faster than changing an entire setup after every frame.
Does expensive equipment improve portrait lighting setups?
Equipment can expand options, speed, or reliability, but it cannot define the portrait’s purpose. Learn to recognize adding background light with a simple kit before adding tools that create more decisions and failure points.
How can I tell when the setup is too complicated?
Complexity is excessive when a tool or step has no distinct job visible in the final image, slows communication, creates safety risk, or makes the result harder to repeat. Remove one element and compare.
Should every portrait use the same approach?
No. A headshot, editorial portrait, family photograph, branding image, and environmental story have different audiences and emotional needs. Consistency should come from clear judgment, not identical technique.
How do I evaluate complexity has a cost during a session?
Every source introduces stands, power, metering, spill, reflections, failure points, and additional decisions for a moving subject. Pause after a short sequence, review representative frames, and translate the observation into one specific adjustment. Avoid allowing constant review to interrupt expression.
What is the most common mistake with portrait lighting setups?
The common mistake is making the technical decision before defining the story. adding lights before solving the key is one example. Establish the subject, purpose, and environment first, then choose the simplest method that completes them.
How does lighting by function support client experience?
Name each source by its job. If a light has no distinct job visible in the frame, remove it and reassess the portrait. Explain the purpose of the decision in plain language, keep the session moving, and invite feedback only where the client has useful authority or personal knowledge.
How do I know when the portrait is finished?
The portrait is complete when expression, light, composition, environment, and technical quality support the intended use without an unresolved distraction. More frames or equipment do not automatically add meaning.
Make the Decision Serve the Person
The best approach to portrait lighting setups is the one that supports the portrait’s purpose while preserving human presence. Define the story, observe what already exists, make the smallest useful change, and evaluate both technical quality and emotional meaning.
Explore Portland portrait photography and personal branding photography. Browse the Photography Journal, learn about Shayne Blaylock, or contact Shayne to book a portrait session or ask about one-to-one photography mentoring.