How to Pose People Naturally Without Awkwardness
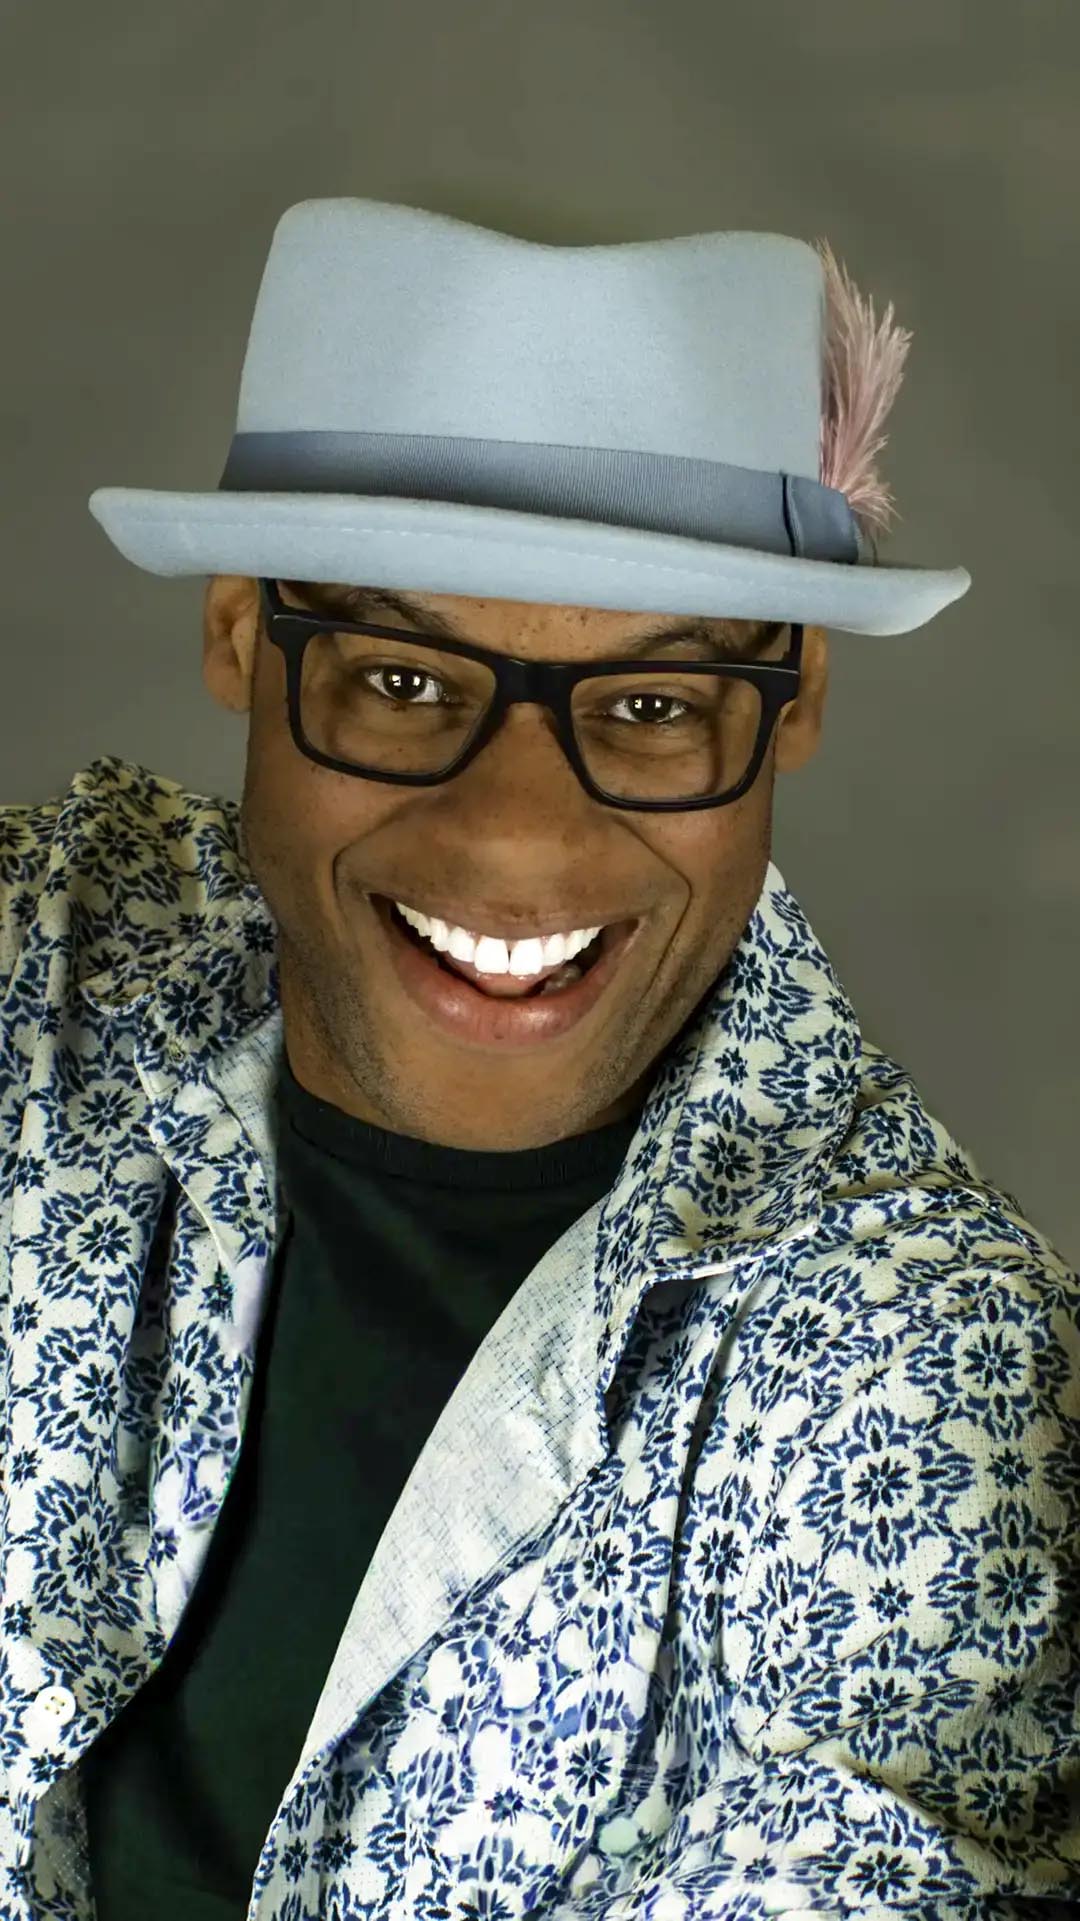
Great posing is not the ability to recall dozens of body arrangements. Professional photographers guide people into positions that feel stable, confident, and consistent with the portrait’s purpose. The work depends on communication, observation, movement, and small adjustments—not forcing every person into the same formula.
I watch the face and body together before changing a pose. A shoulder, hand, eye line, breath, or weight shift is useful only when it resolves a specific tension or communication problem without making the person feel managed. Natural does not mean undirected; clear structure lets the subject stop monitoring every limb and become present in the frame.
Estimated reading time: 11 minutes
Why Most People Feel Awkward in Front of a Camera
Being photographed concentrates attention. A person who moves comfortably in ordinary conversation may suddenly wonder where to put their hands, how to stand, whether to smile, and what the photographer sees. The camera transforms unconscious behavior into something the subject tries to control.
Self-consciousness increases when instructions are vague. “Relax” tells someone their current body is wrong without explaining what to change. “Look natural” asks them to perform an undefined state. Silence can make the subject assume the photographer is dissatisfied. Rapid technical changes can feel like evaluation even when the photographer is adjusting a light.
Camera awareness also changes expression. A smile held for several seconds loses energy. Direct eye contact without an internal reason becomes blank. Shoulders rise, breath shortens, hands flatten, and knees lock because the person is waiting for approval.
Direction works when it replaces uncertainty with a sequence. Give one physical action, let it settle, then refine. The goal is not to hide the fact that a portrait is being made. It is to create enough trust and clarity that the person can participate without overthinking.
Build Confidence Before the First Photograph
Greet the Person Before Handling Equipment
Meet the client at conversational distance. Use their name, explain where belongings can go, confirm pronunciation and accessibility needs, and show them the space. If assistants, stylists, or clients will observe, identify their roles so the subject knows who is making decisions.
Build Rapport Without Performing Intimacy
Ask useful, respectful questions: What will the portrait be used for? Which images have felt most like them? Is there a side or feature they prefer? Are there movements, touch, standing positions, or clothing adjustments they want to avoid? Listening is more valuable than filling every silence.
Explain the Process
Tell the subject that you will guide feet, body angle, hands, chin, eyes, and expression one step at a time. Explain that you will make test frames for lighting and that a pause does not mean they are doing something wrong. A predictable process reduces the pressure to perform.
Start Simple
Begin with a stable standing or seated position and an easy expression. Do not open with the most dramatic pose, closest lens, or complex movement. Early frames calibrate camera height, light, clothing, and communication. They also show the subject that the session is manageable.
Give Specific Positive Feedback
Say what is working: “That shoulder angle gives us a clean line,” or “The expression after you exhaled feels open.” Avoid constant generic praise. Specific feedback teaches the subject what to repeat and builds confidence in the collaboration.
Body Position: Build From the Ground Up
Feet and Weight
For a standing portrait, place the feet before directing the upper body. A slight stagger creates a base and makes it easier to shift weight. Moving most weight to the back foot can relax the front knee and create asymmetry. That is a starting option, not a law; athletes, performers, and editorial subjects may need square, forward, or active stances.
Locked knees often pull the body upright and make the pose feel held. Ask the subject to soften one knee or shift weight until the pelvis and shoulders can settle. Flat parallel feet can look static. Turning one foot toward the intended movement adds direction.
Angled Hips and Shoulders
A slight angle usually creates depth and clearer body lines than standing completely square to the camera. Turn the hips modestly, then allow the shoulders to rotate back toward the lens as needed. Avoid twisting beyond comfort or using angle only to make a person appear smaller.
Square shoulders can communicate authority, honesty, or confrontation. Use them intentionally for some headshots, athletes, and editorial portraits. The issue is not symmetry itself; it is symmetry without a reason.
Standing Posture
Ask the subject to grow gently upward through the crown of the head, then let the shoulders fall on an exhale. “Stand straight” can create a rigid chest and raised shoulders. The goal is length with normal breathing.
Leaning slightly toward the camera can create connection. Leaning against a wall can provide stability, but the body should not collapse into the surface. Keep weight distributed safely and watch how clothing gathers.
Sitting Posture
Seat the person toward the front of a chair when a more engaged portrait is needed. Place feet securely, then invite a small hinge forward from the hips rather than rounding the upper back. For a relaxed portrait, sitting deeper may be appropriate if the body remains supported and the clothing falls cleanly.
Chairs, stools, benches, and floors affect accessibility and body position differently. Ask before moving a person or their mobility aid. The strongest pose is one the subject can hold comfortably enough for expression to remain available.
Head and Chin Position
“Chin down” by itself often compresses the neck. A clearer direction is “bring your forehead and chin slightly toward me, then lower the chin a fraction.” The forward motion lengthens the neck; the small downward adjustment controls the angle to the camera.
Use subtle changes. Excessive extension feels unnatural and can create tension around the mouth. Watch the transition where jaw meets neck, but do not treat normal folds or body features as defects. The purpose is a clear, comfortable line and intentional relationship to the lens.
Head tilt changes emotional language. A small tilt can feel curious, warm, or attentive. A level head can feel direct and grounded. Tilting toward a raised shoulder may compress the neck; tilting away may open the line. Choose according to expression and story rather than gendered posing rules.
Eye direction should match head direction. If the eyes look far to the side while the head remains forward, too much white may show and the expression can feel strained. Turn the head partway toward the gaze, then bring the eyes back slightly.
Hands: Give Them a Natural Job
Hands become awkward when they have no purpose. Avoid telling someone simply to “do something with your hands.” Offer a job that belongs to the portrait.
Rest fingertips lightly inside or along a pocket instead of pushing the entire hand deep.
Adjust a jacket, cuff, necklace, hat, glasses, or sleeve slowly.
Hold a familiar object as it would actually be used.
Rest one hand on a thigh, chair, railing, or work surface without pressing hard.
Let arms hang briefly during walking or between actions rather than arranging every finger.
Connect hands gently for couples and families without squeezing or stacking flat palms.
Relaxed fingers usually show small separations and soft curves. Flat palms pressed against the body appear broad and create tension. The side or edge of a hand can create a cleaner line, but do not force delicate shapes that conflict with the subject’s personality.
Check both hands even when one seems unimportant. A hidden hand can appear amputated by the frame; fingers emerging from behind a body can distract. Frame or reveal the hand with intention.
Eyes and Expressions
Direct eye contact connects the viewer to the person. It can feel inviting, authoritative, vulnerable, or confrontational depending on posture, light, and expression. Ask the subject to look through the lens toward you rather than stare at the front glass as an object.
Looking away creates narrative space. Give a location and reason: “Look toward the window as if someone just entered,” or “Watch the street beyond me.” A random gaze often looks disconnected; a prompted gaze has direction.
For genuine smiles, conversation is more reliable than asking someone to hold a grin. Ask about a person, place, achievement, or absurd detail that produces a real response. Do not demand personal disclosure. Observe what subjects volunteer and follow their comfort.
A soft smile may begin with breath rather than the mouth. Ask for a slow exhale, let the eyes settle, then invite the smallest lift at the corners. Photograph the transition from neutral to smile and the release afterward. The in-between frames often carry more complexity than the peak expression.
Keep shooting through expression changes. The laugh, recovery, glance, inhale, and moment of reorientation can reveal presence that a static command misses.
Movement Creates Better Portraits
Movement gives the body a task and interrupts self-monitoring. It does not need to be dramatic.
Walking
Ask the subject to walk slowly between two marks. Give a pace, destination, and eye direction. Photograph several passes so arms, stride, clothing, and expression can align. Walking directly at the lens feels assertive; crossing the frame reveals profile and environment.
Turning
Begin with the body angled away, then ask the subject to turn shoulders and eyes back toward the camera. Capture the transition instead of only the end position. The motion creates natural tension through the torso and clothing.
Adjusting Clothing
Buttoning a jacket, rolling a cuff, smoothing a sleeve, or placing a hand in a pocket creates believable hand movement. Repeat slowly and stop before it becomes pantomime. The action must fit the person and assignment.
Hair and Environment
Wind, a gentle head turn, or the subject moving hair can create energy. Protect hair and eyes from unsafe fans or weather. Invite interaction with a doorway, workbench, instrument, book, railing, or other meaningful part of the location. Environmental action should reveal identity rather than serve as a generic prop.
Movement also changes working distance and framing. Compare communication choices in Working Distance: How Camera Position Changes Portraits and lens behavior in 70–200mm vs. 50mm.
Posing Different Portrait Types
Corporate Headshots
Prioritize clear posture, direct communication, repeatability, and expression appropriate to the person’s role. Small shoulder and chin changes create enough variety. Avoid turning every executive into the same crossed-arm pose. For Portland headshot work, see professional headshots.
Branding Portraits
Branding sessions need action, environment, negative space, wardrobe variety, and different levels of eye contact. Give the subject real tasks connected to their work. Photograph direct portraits alongside observational frames. Explore Portland branding photography.
Senior Portraits
Build from simple standing positions into walking, sitting, clothing adjustments, and environmental interaction. Keep direction age-appropriate and collaborative. Let personality guide energy rather than importing poses from trends.
Environmental Portraits
The pose should explain how the person belongs to the location. Use tools and surfaces as they are actually used. Preserve meaningful background information with Environmental Storytelling Through Portrait Photography and Frame Composition.
Family Portraits
Start with a stable arrangement, then create interaction: walk, lean, look at one another, share weight, or respond to a child. Keep hands connected gently and faces visible. Expect the strongest frame to occur between formal attempts.
Couples
Direct points of connection rather than forcing symmetrical affection. Bring shoulders or hips closer, assign each person a comfortable hand placement, and prompt attention toward or away from each other. Watch height, balance, breath, and whether the interaction feels mutual.
Common Posing Mistakes
Locked knees: The entire posture becomes rigid and difficult to adjust.
Unintentional square shoulders: Symmetry appears static when the portrait needs depth or ease.
Hands hanging without purpose: Fingers stiffen because the subject is waiting for instruction.
Chin pulled backward: The neck compresses and the face disconnects from the camera.
Flat parallel feet: Weight distribution becomes unclear and movement disappears.
Perfect symmetry everywhere: The body lacks rhythm unless formality is intentional.
Overly exaggerated posing: Curves, leans, and head tilts become performance rather than presence.
Giving too many instructions: The subject begins monitoring parts instead of inhabiting the portrait.
Correcting without explanation: Direction feels like criticism rather than collaboration.
Using gender or body-size formulas: The pose stops responding to the individual.
A Repeatable Posing Workflow
Use the same order so adjustments remain clear:
Feet: Establish stance, direction, and stability.
Hips and weight: Shift weight comfortably and create the intended body angle.
Shoulders: Rotate or square them according to confidence, depth, and story.
Hands: Give each hand a natural job and relax the fingers.
Chin: Move slightly forward, then refine height.
Eyes: Choose direct contact or a specific off-camera point.
Expression: Use breath, thought, or conversation rather than a held mask.
Micro-adjustments: Refine clothing, fingers, eye line, and crop one detail at a time.
Multiple frames: Photograph the position, transition, and release.
After one successful sequence, change only one relationship: camera distance, body angle, hand job, eye direction, or movement. This preserves confidence while creating meaningful variety.
Frequently Asked Questions
How do I help a nervous client relax?
Explain what will happen, begin with a simple position, keep instructions specific, and photograph short sequences instead of demanding a perfect frame. Acknowledge that being photographed feels unfamiliar and give the person something manageable to do.
Should portrait subjects always smile?
No. Expression should fit the person, purpose, and story. Make neutral, soft, open, and smiling variations when useful. A believable restrained expression is stronger than a smile held only because the photographer requested one.
Where should people put their hands?
Give each hand a clear, natural job: rest lightly in a pocket, hold a familiar object, touch a jacket, rest on a thigh, or connect gently with another person. Keep fingers relaxed and avoid pressing hard into the body.
How should I pose people with larger body types?
Ask how the person wants to be represented and avoid treating any body as a problem to hide. Use comfortable posture, deliberate camera position, clean clothing lines, and small adjustments that support the intended portrait. Do not impose one universal flattering formula.
How do I avoid stiff portraits?
Use movement, breathing, conversation, asymmetry, and transitions. Give an action instead of a shape: shift weight, walk slowly, adjust a sleeve, turn toward the light, or look back after taking a step.
Should subjects look directly at the camera?
Direct eye contact creates connection, authority, or confrontation. Looking away can feel observational, reflective, or narrative. Photograph both when the assignment allows, and make the eye direction intentional rather than accidental.
What should I say instead of ‘look natural’?
Give a physical or emotional prompt the person can complete: exhale and let the shoulders drop, turn toward the window, think about the person who makes you laugh, or walk to the mark and look back at me.
How can I pose someone who says they are not photogenic?
Do not argue with the feeling or promise perfection. Explain that direction is your responsibility, begin with an easy setup, show one strong frame if review will build confidence, and keep attention on the process rather than appearance.
How many posing adjustments should I give at once?
Usually one or two. Establish feet and weight first, then refine shoulders, hands, chin, eyes, and expression. Too many simultaneous commands cause the subject to monitor every body part and lose presence.
How do I pose people who use mobility aids?
Ask how they prefer to stand, sit, move, and be photographed. Treat the aid as part of the person’s real spatial relationship unless they request otherwise. Adapt camera height, space, timing, and prompts without making assumptions about capability.
Is it acceptable to demonstrate a pose?
Yes. A quick demonstration can clarify direction, especially for angle or movement. Demonstrate the action rather than asking the subject to copy your exact body shape, then adjust for their comfort, clothing, proportions, and personality.
Comfort Before Perfection
Natural posing comes from communication, observation, movement, and small adjustments rather than memorizing complicated shapes. Give the subject a stable starting point, clear actions, time to respond, and feedback they can use.
The photographer’s responsibility is not to make every body conform to one ideal. It is to create conditions where the person can feel present and recognizable. Explore Portland portrait photography and the Photography Education Journal. Learn about Shayne Blaylock, or contact Shayne to book a portrait session or ask about one-to-one photography mentoring.